
DIY Yarn Pumpkin Tutorial
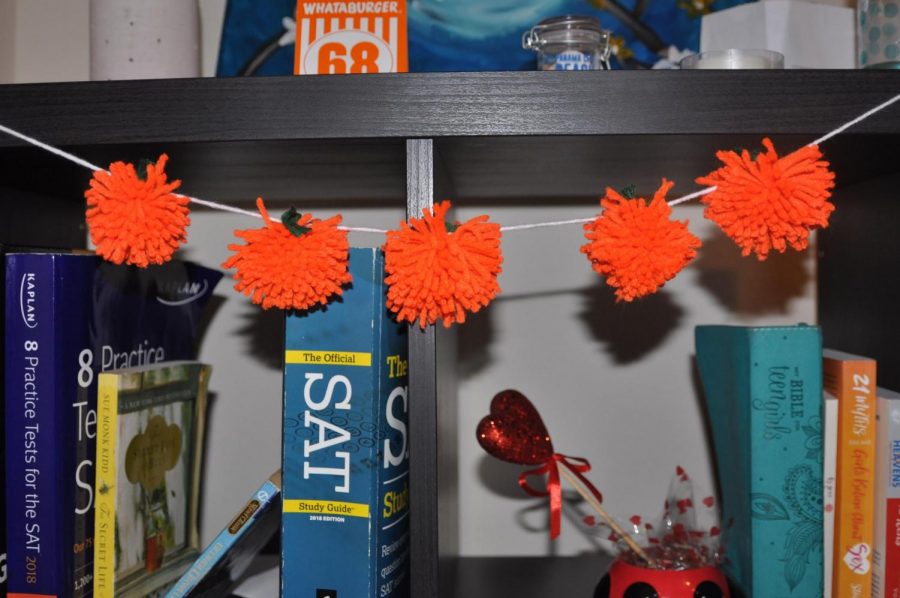
It’s clear from the sudden drop in temperature, the changing leaves and the return of everything pumpkin spice that fall is here. To pass the time and add a bit of the fall spirit to your space, here is a guide to making your own yarn pumpkin that can hang anywhere from your bedroom to your backpack. It doesn’t take much time or money, so turn on your favorite spooky movie, grab a blanket and a pumpkin spice latte and get to crafting!
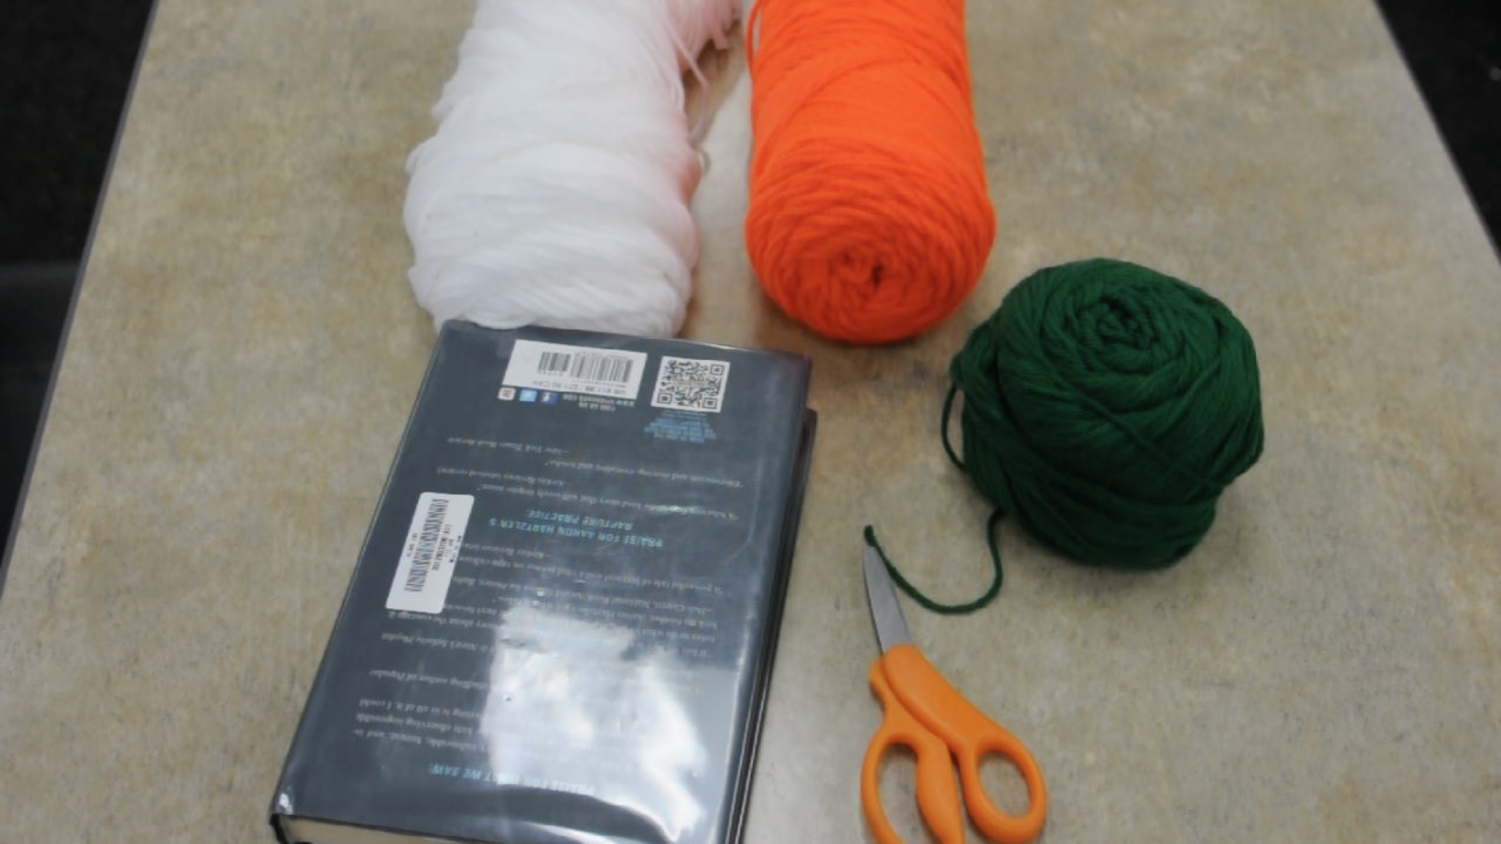
Materials needed:
- One roll of orange yarn
- One roll of white Yarn
- One roll of green Yarn
- Book
- Scissors
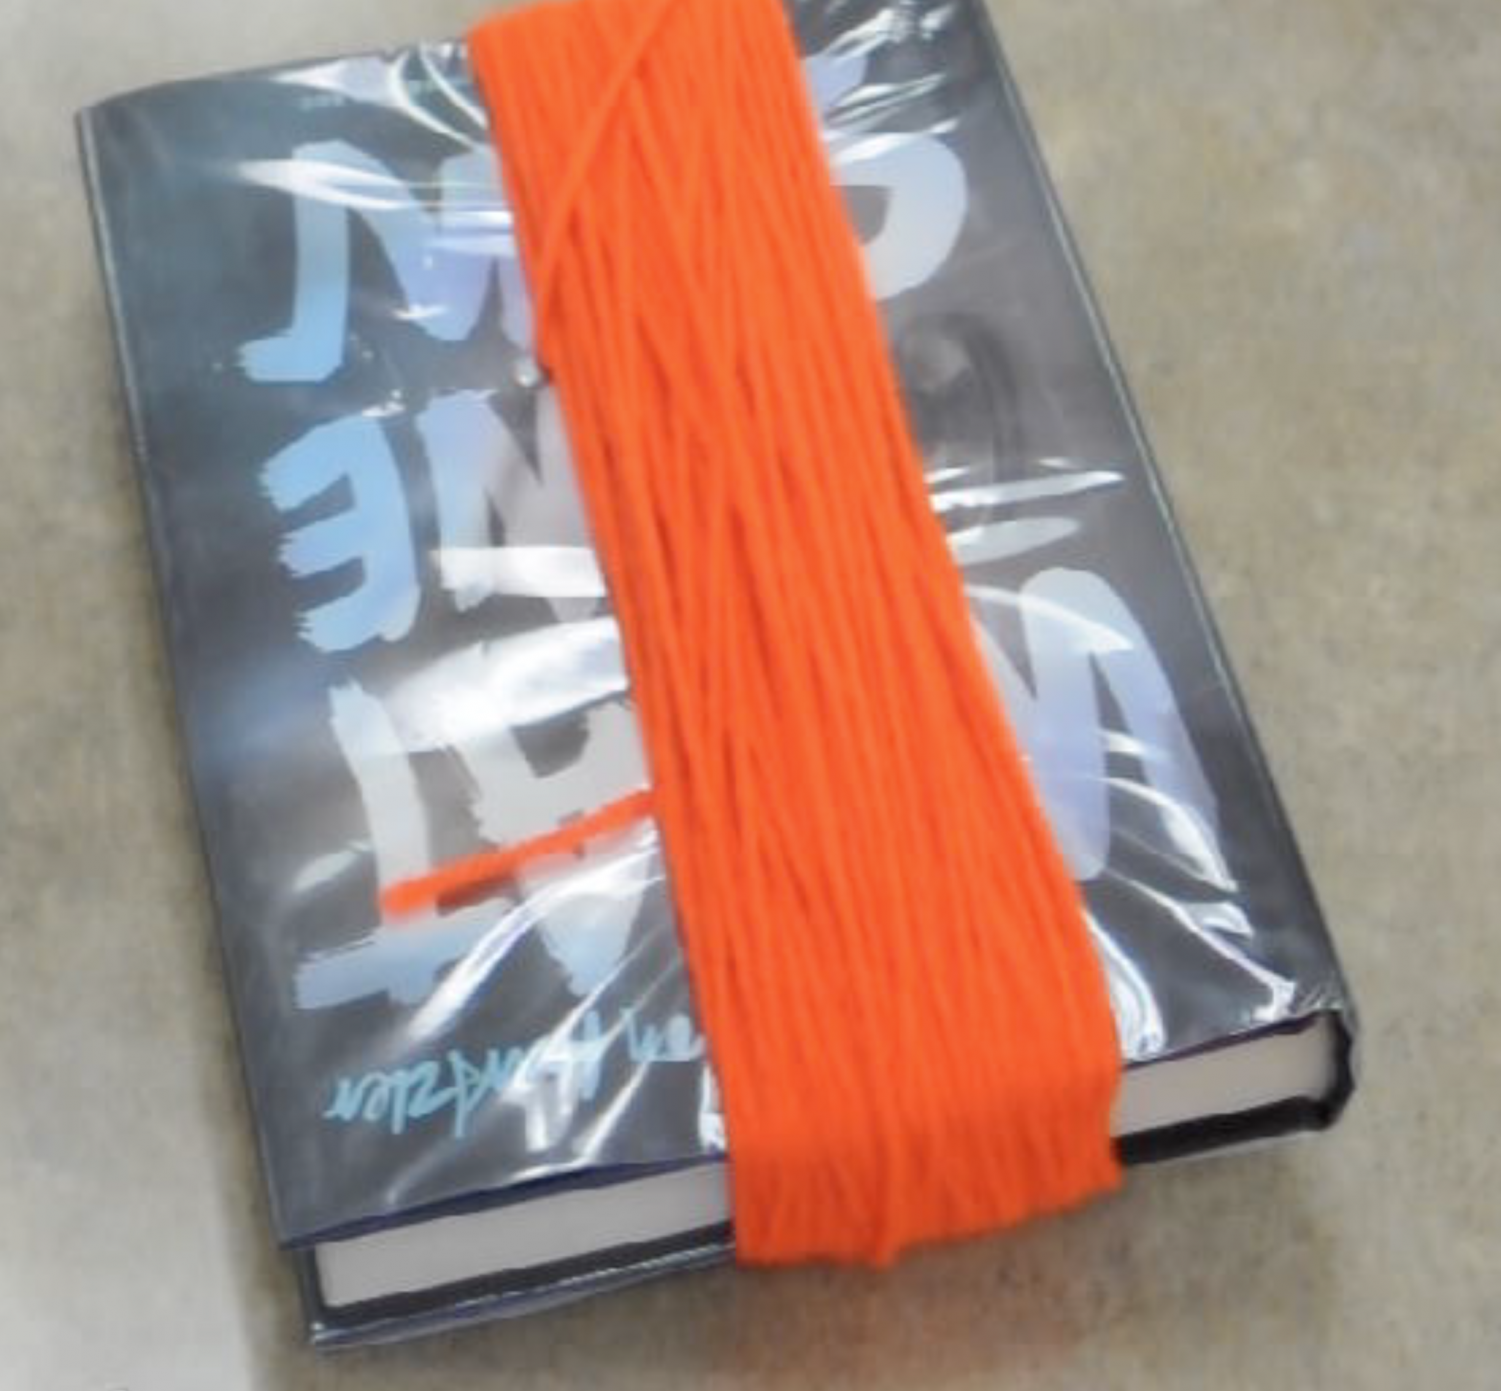
Step 1: Wrap orange yarn around a book length-wise at least 100 times. The more you wrap the yarn, the thicker your pumpkins will be. Make sure not to start off winding too tight because it will turn out too snug.
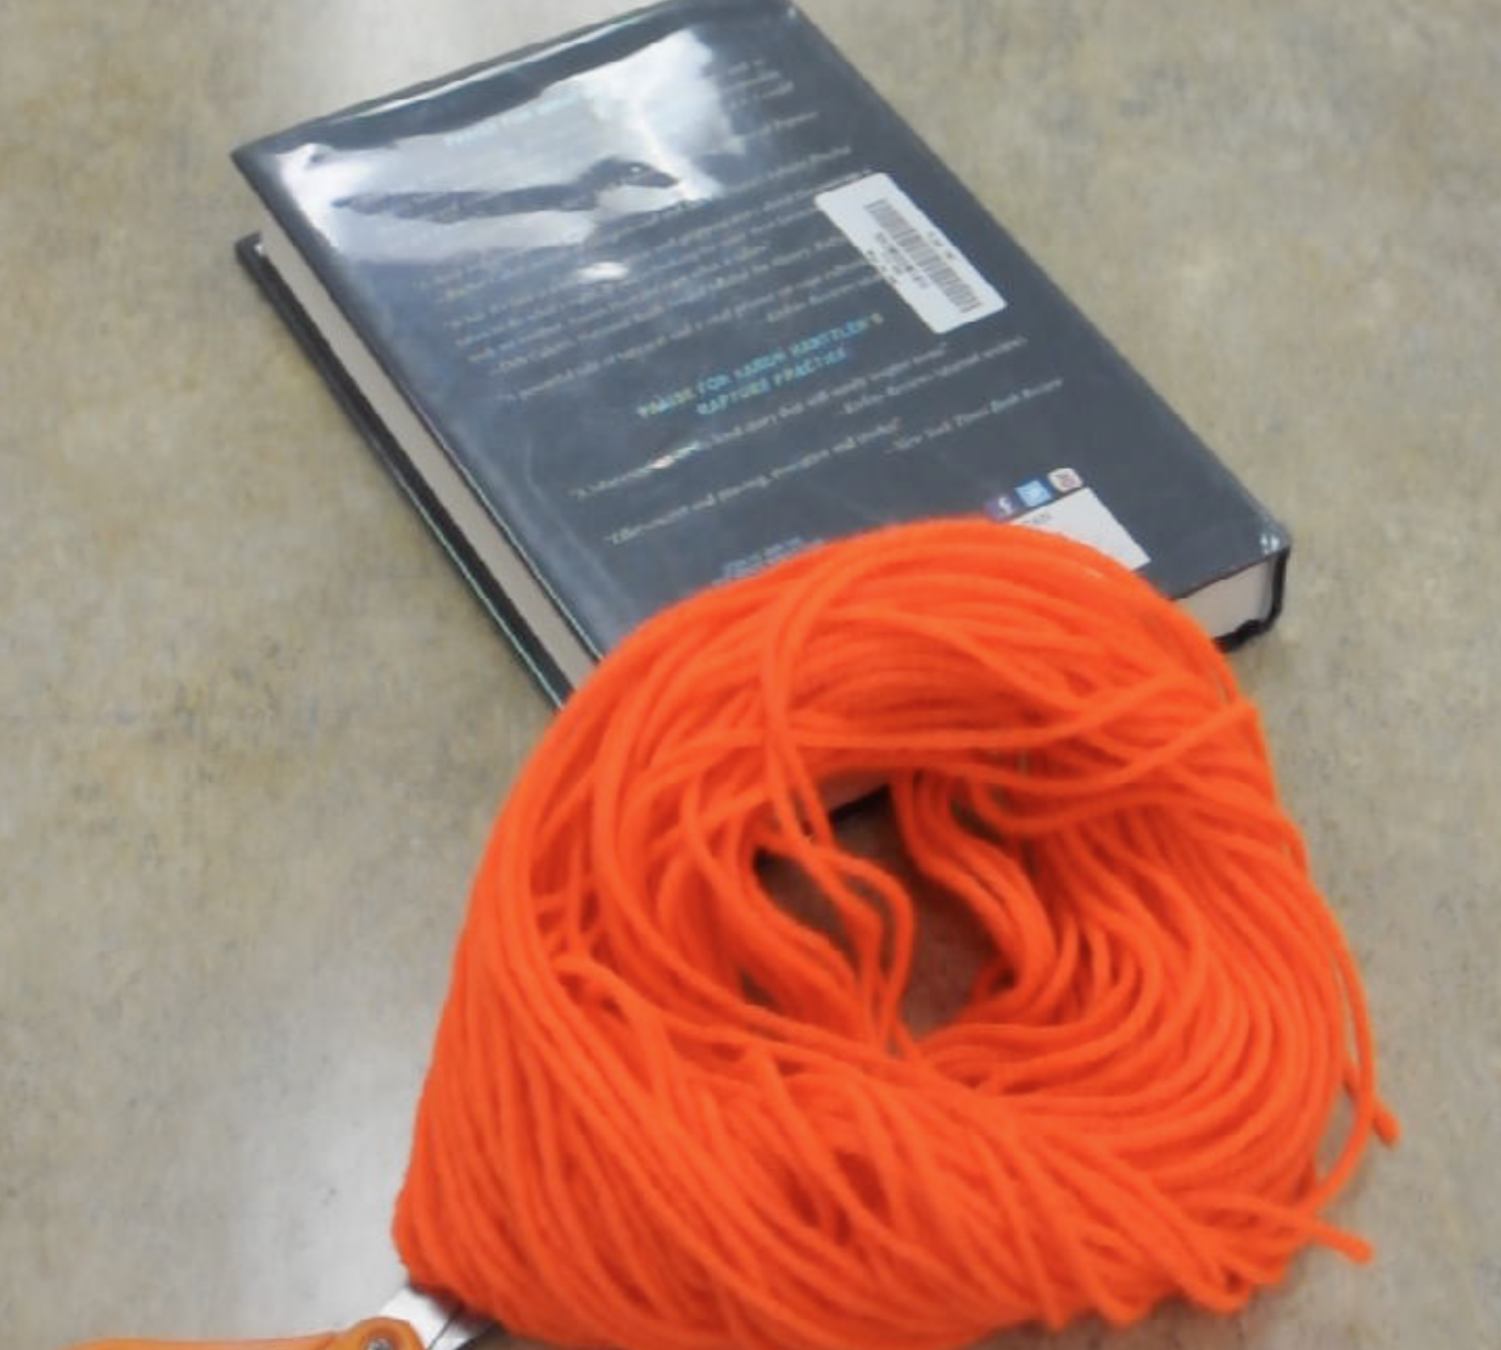
Step 2: Move the yarn off the book carefully. Make sure you keep it in its loop shape.

Step 3: Cut four separate 12-inch orange pieces of yarn from the spool and tie them around the loop in four places to make four sections of approximately equal length.
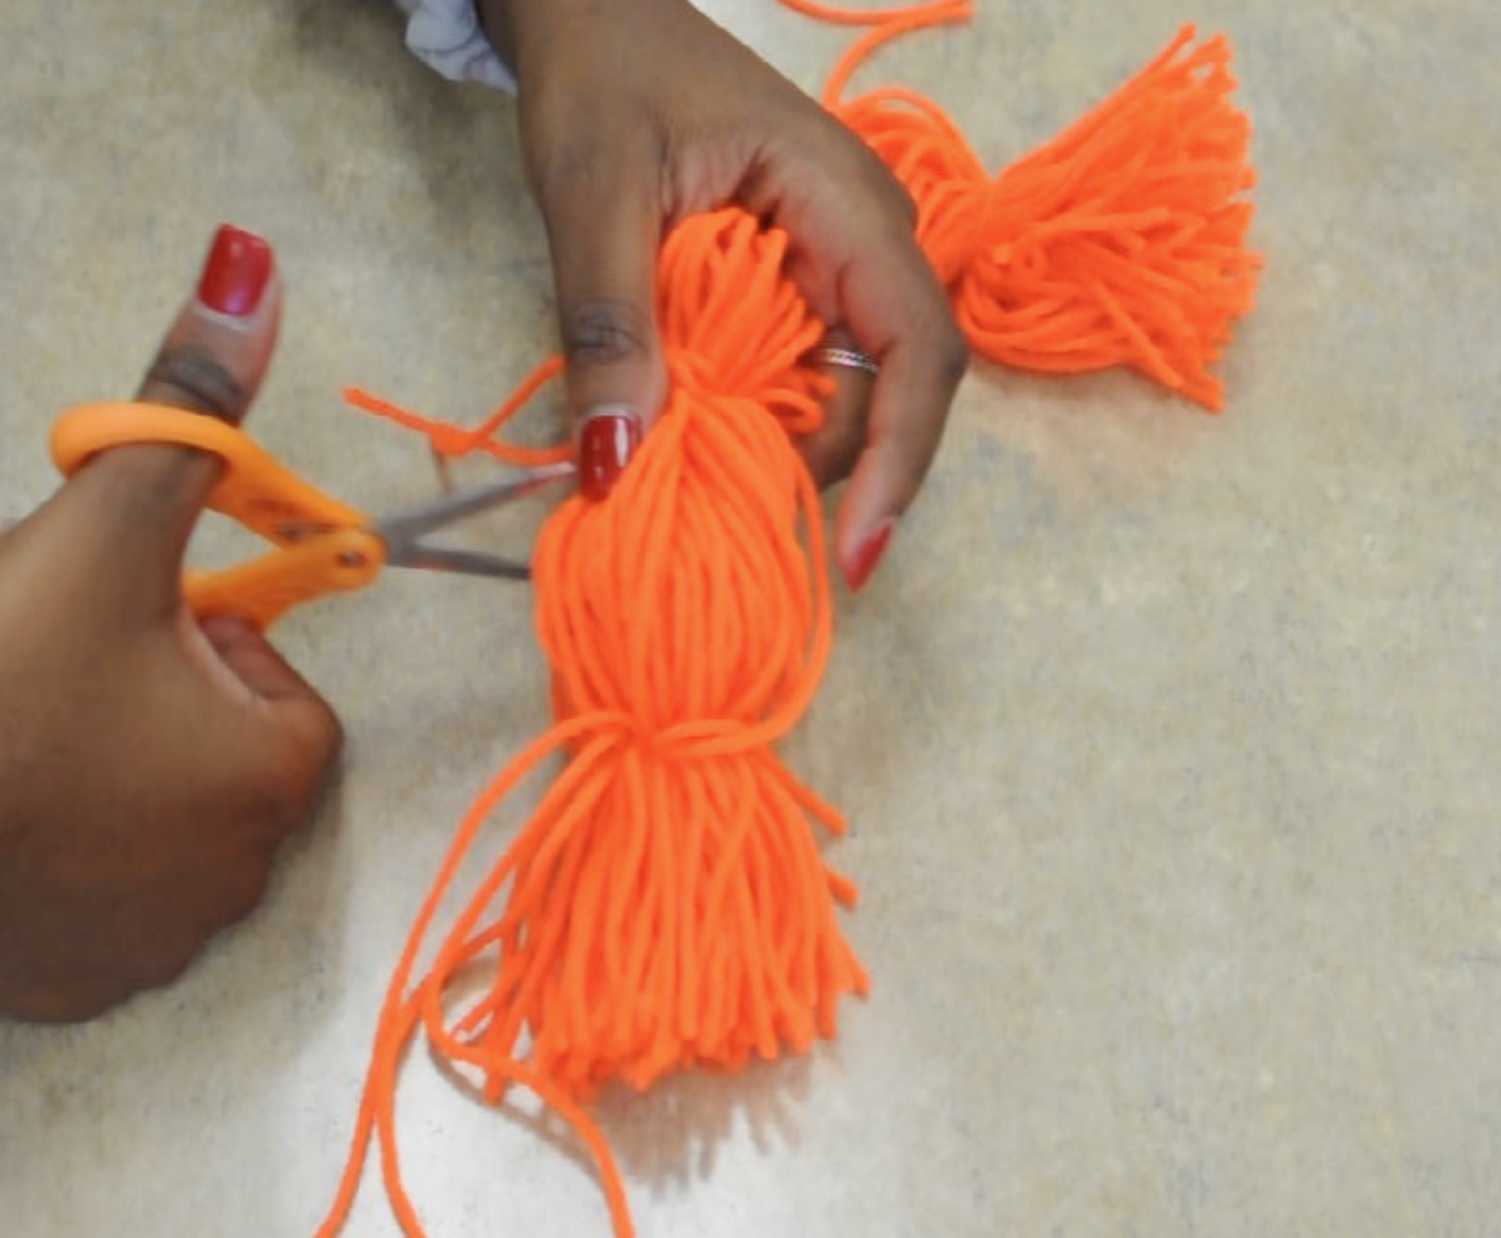
Step 4: Cut between the spaces of the tied sections. You should have four tassels and strings from which to hang them.
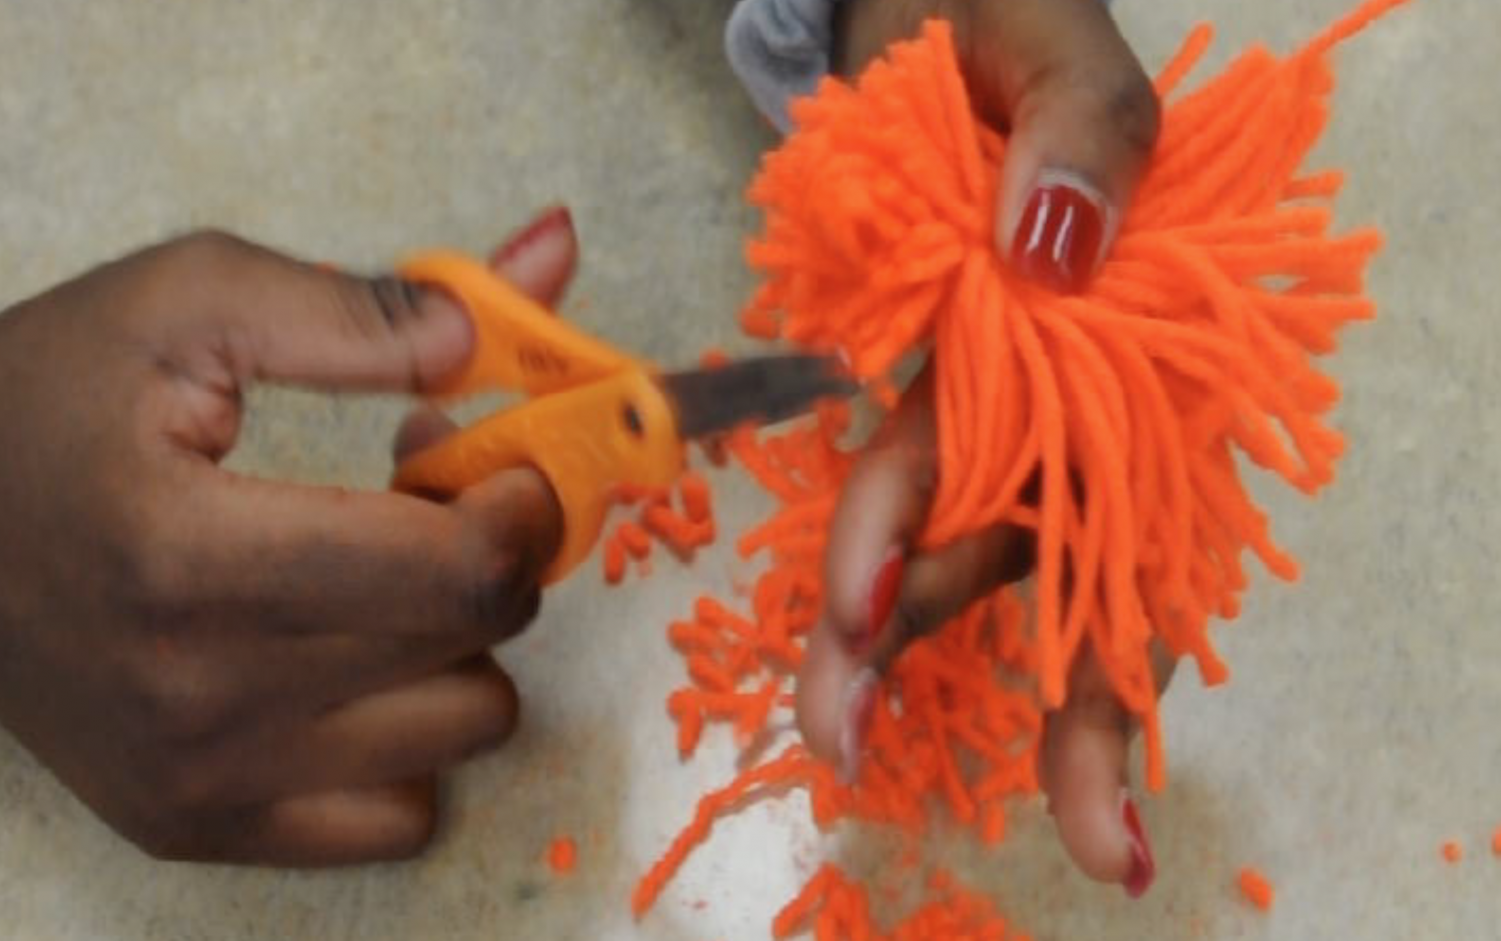
Step 5: Trim the ends of each tassel to make them look clean and even.
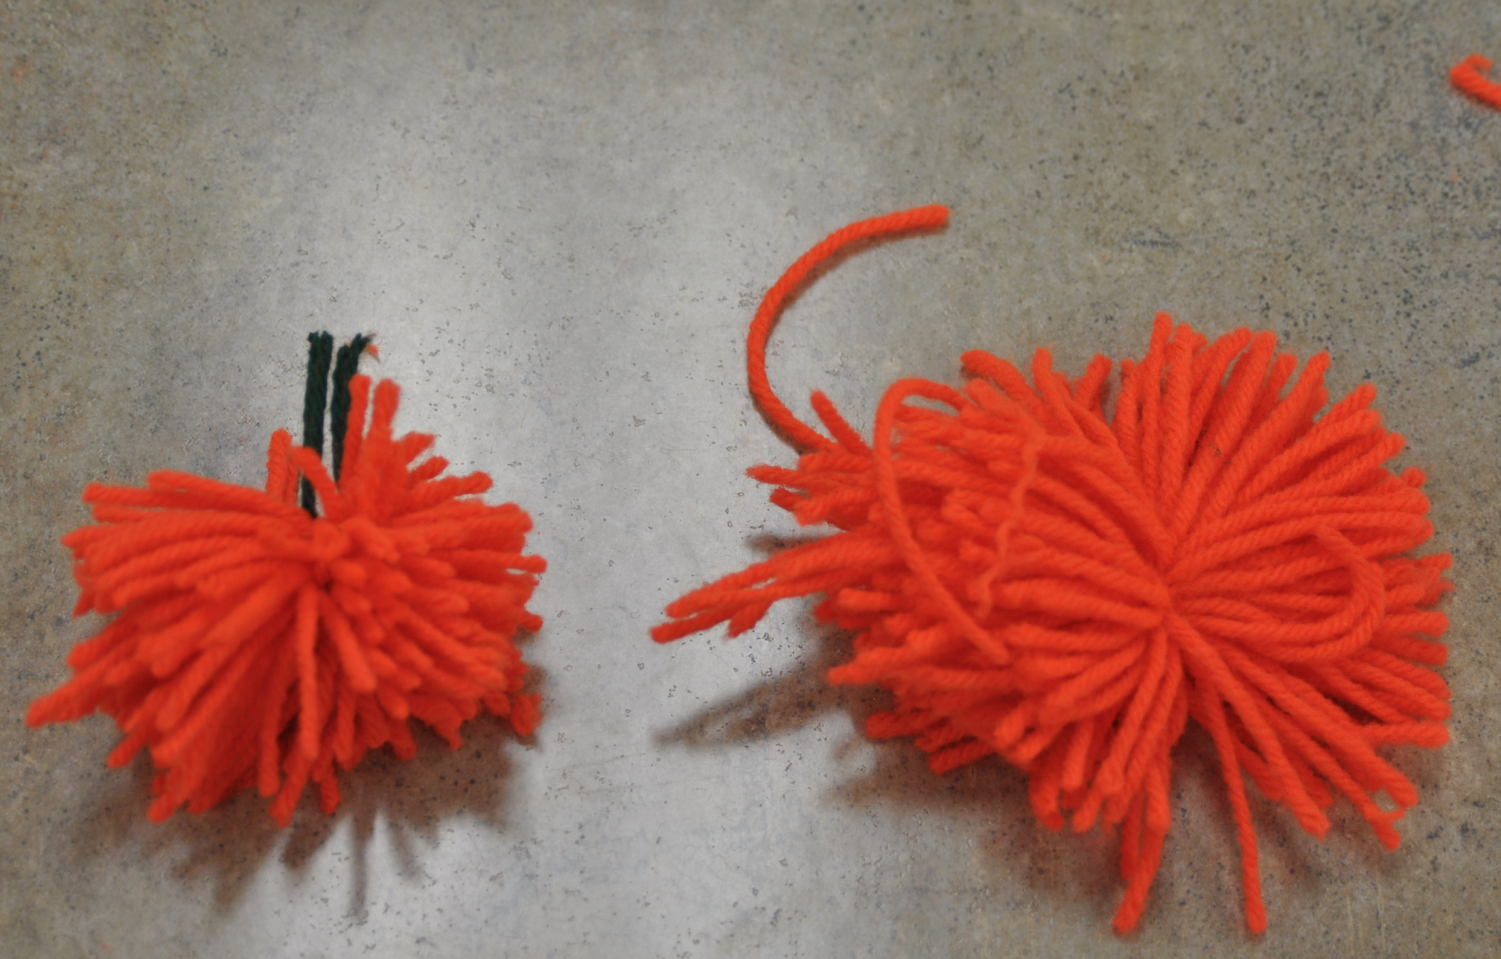
Step 6: Make the stem of the pumpkin. Cut a 12-inch piece of green yarn and tie it around the middle of your orange yarn. Make sure to make it tight; the tighter it is, the more full the tassel will look.
Step 7 (optional): To string on yarn, lift up the green yarn and thread the white yarn through the loop of the green yarn.
You can embellish your pumpkin to be used as a keychain to a garland, whatever your heart desires. Each wrap of a classic hardcover book should make four pumpkins.